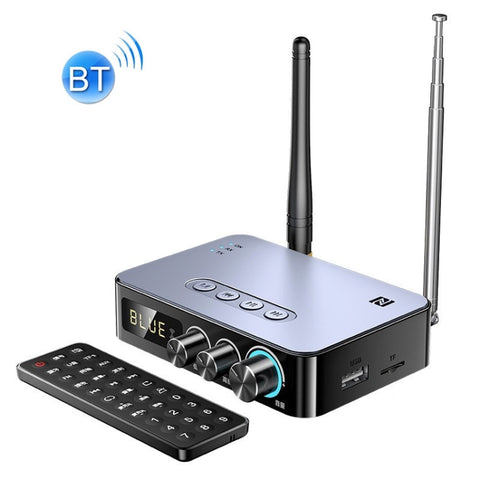
Casse Bluethoot


Venduti oggi

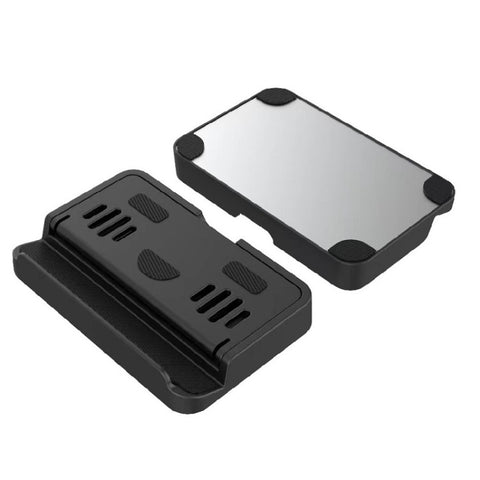
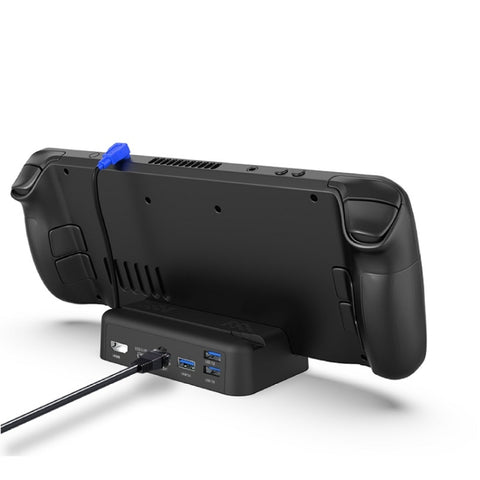
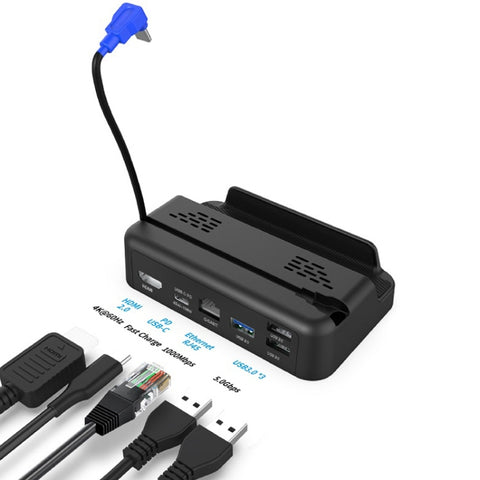
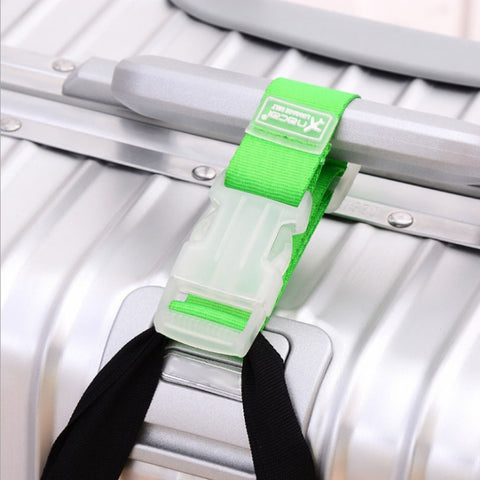
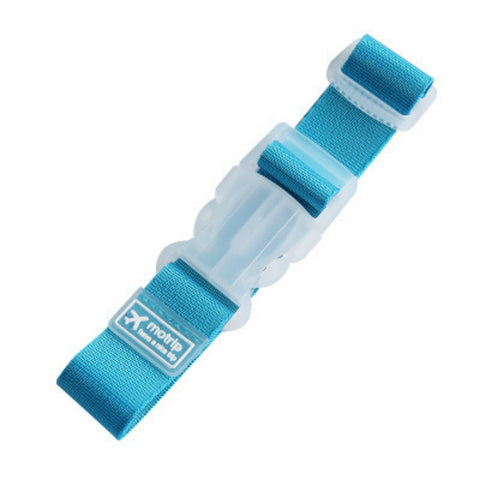


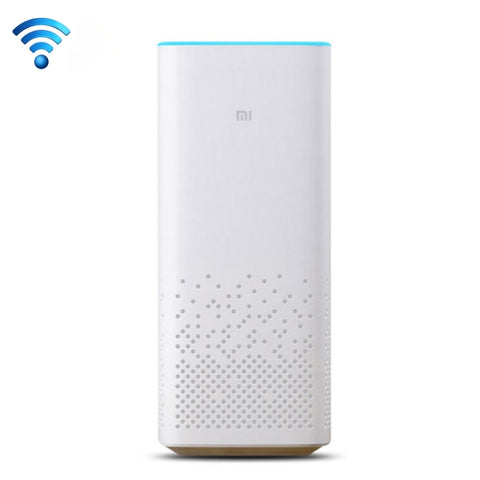
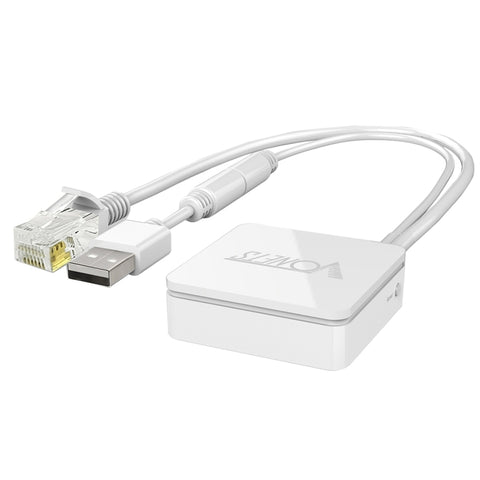
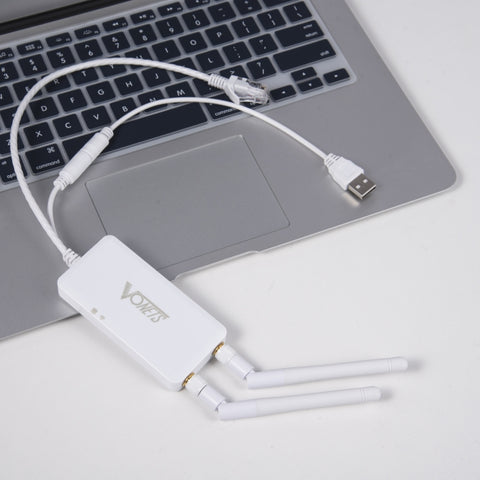
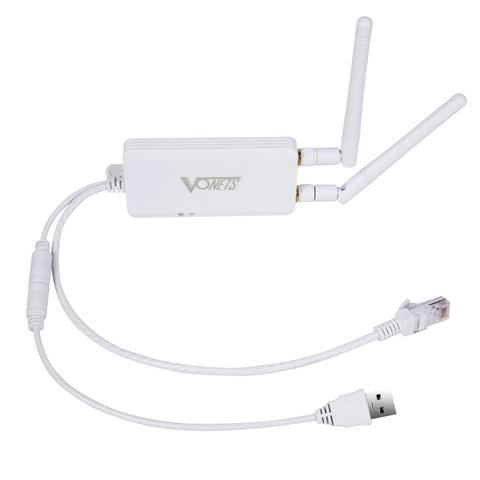
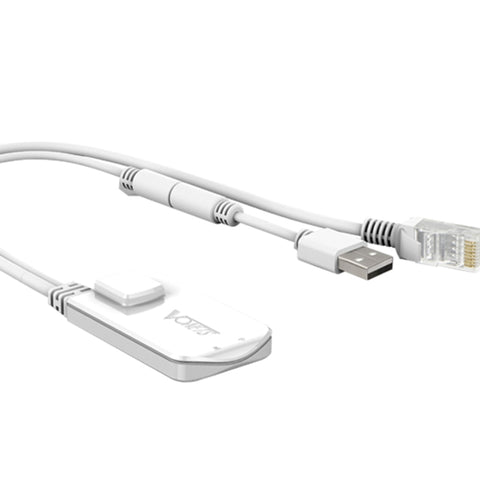
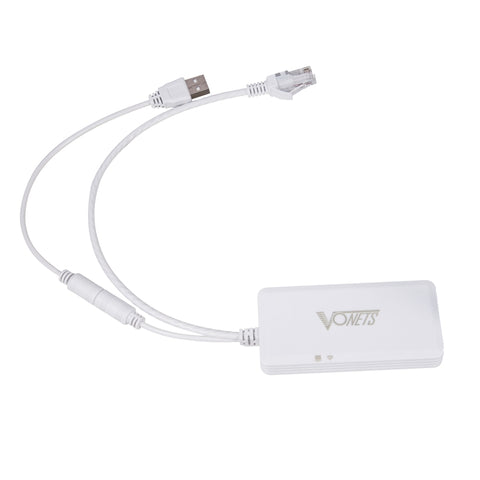
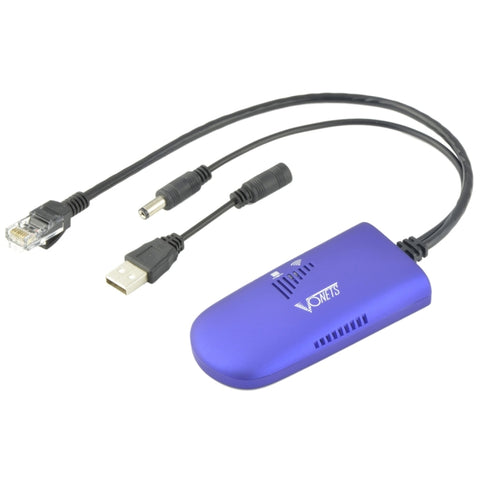
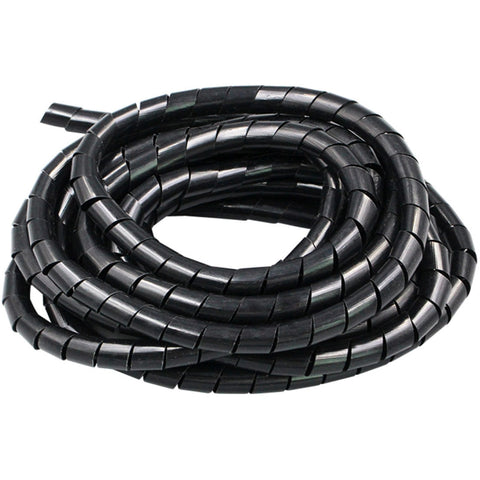
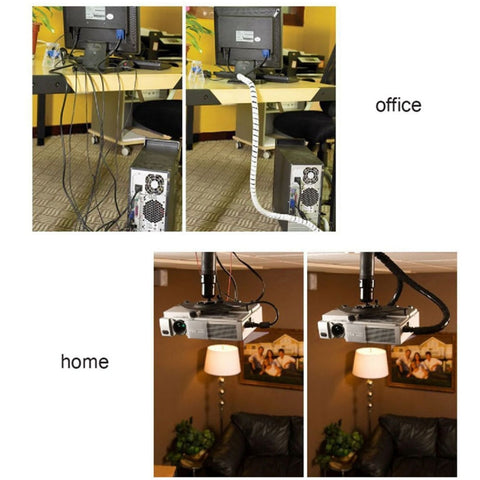
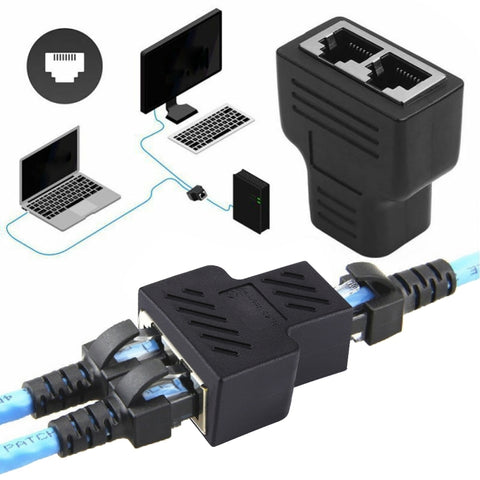
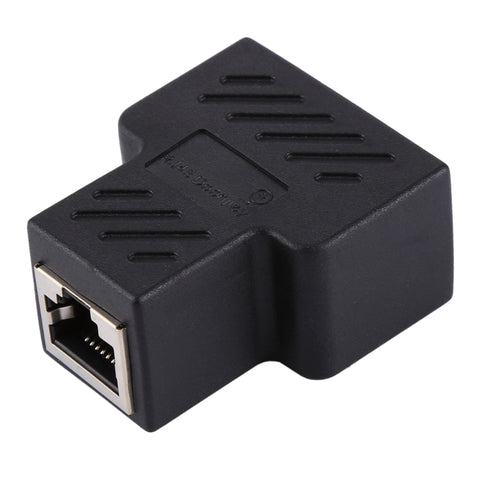
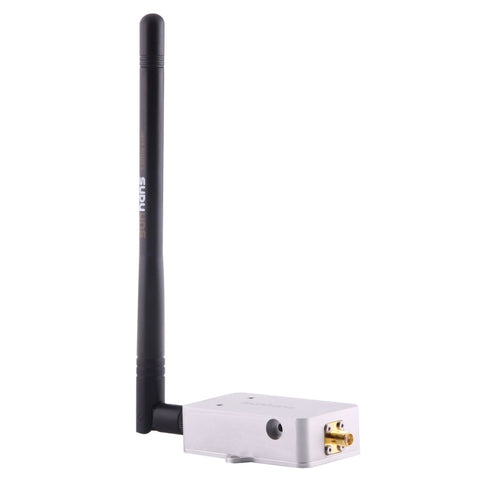
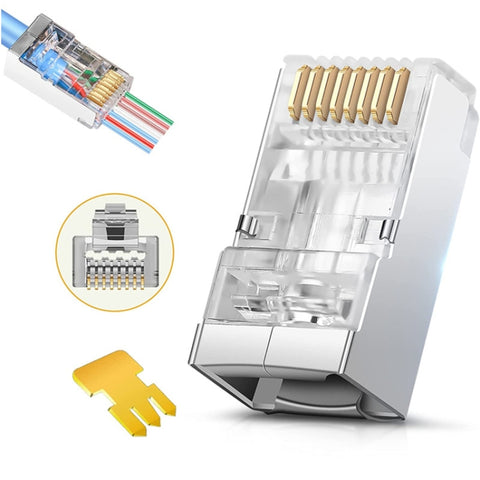
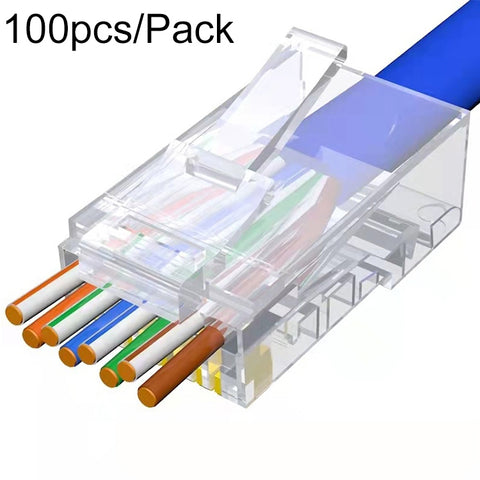
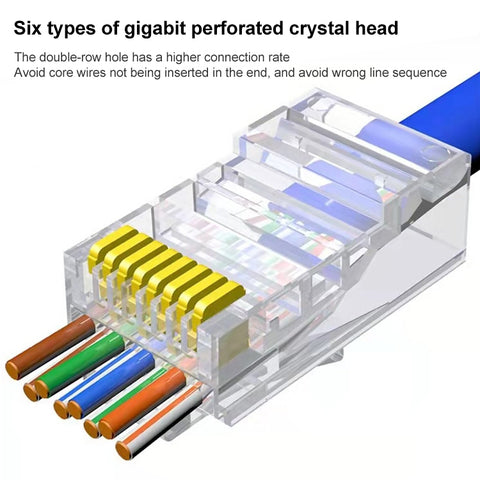
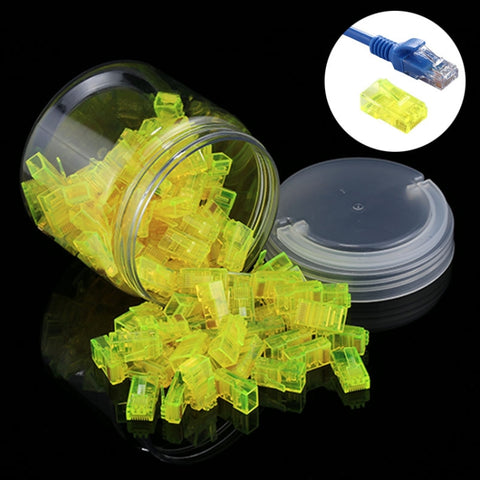
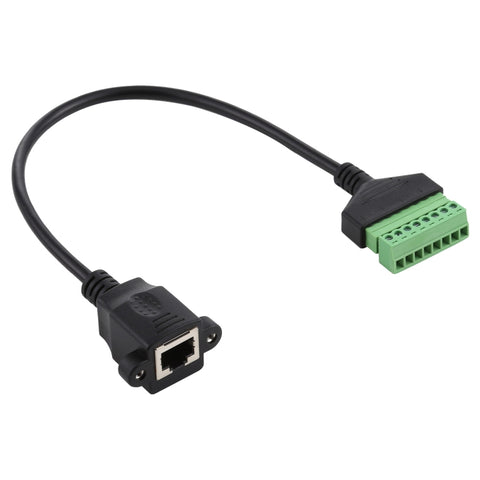
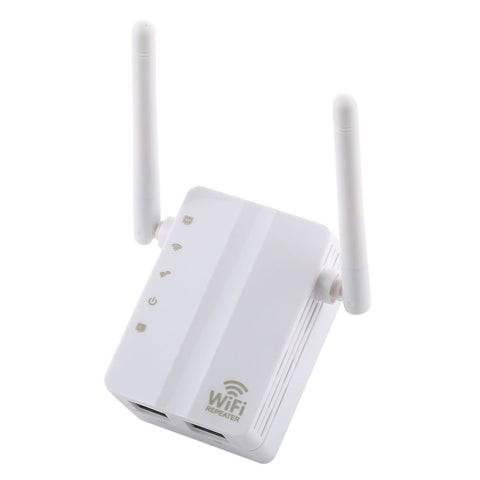
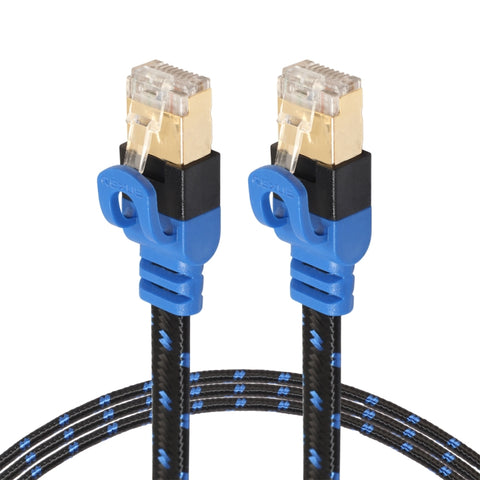
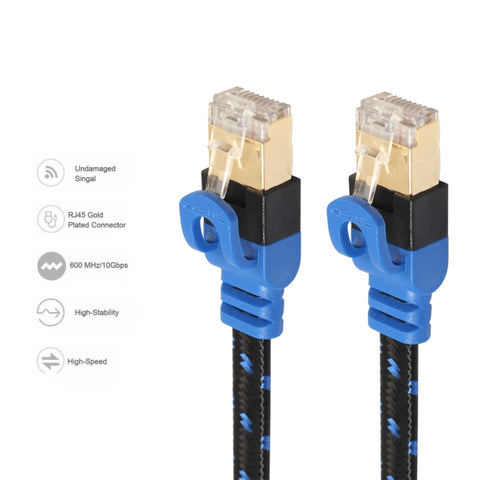
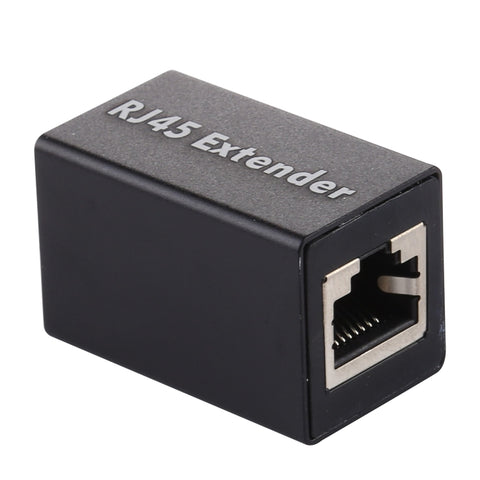
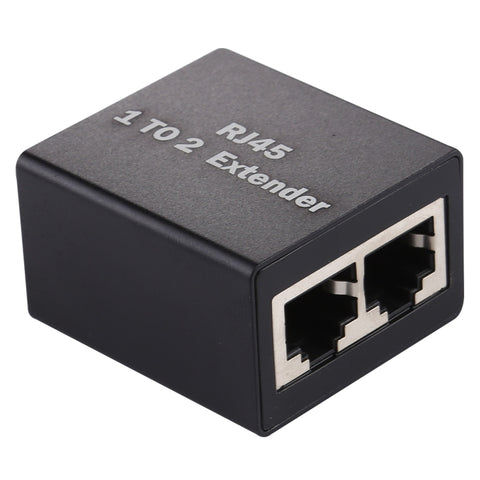
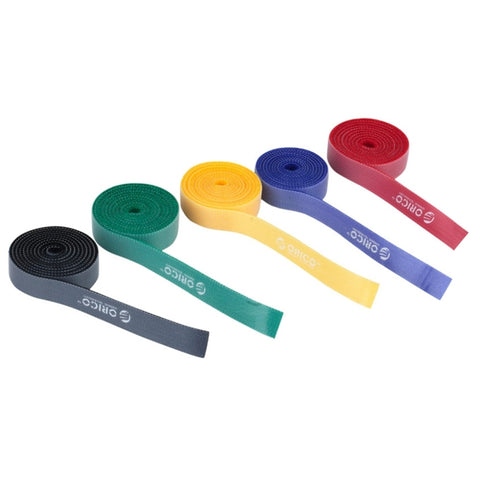
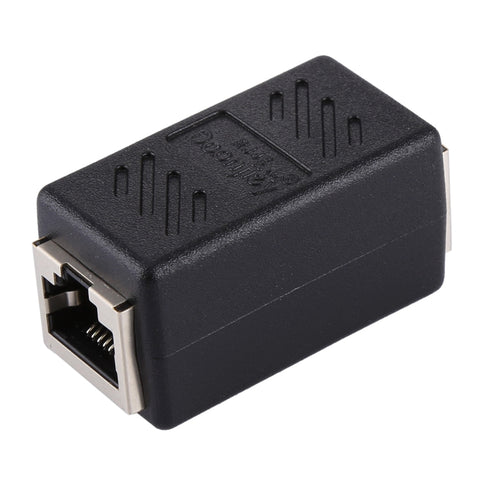
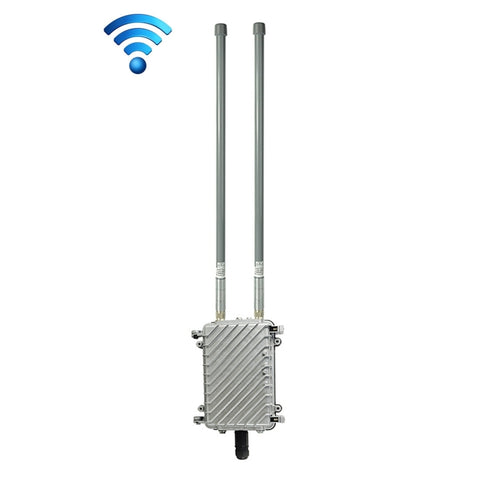
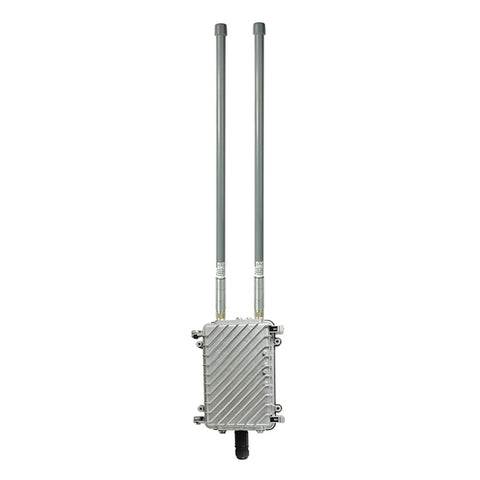
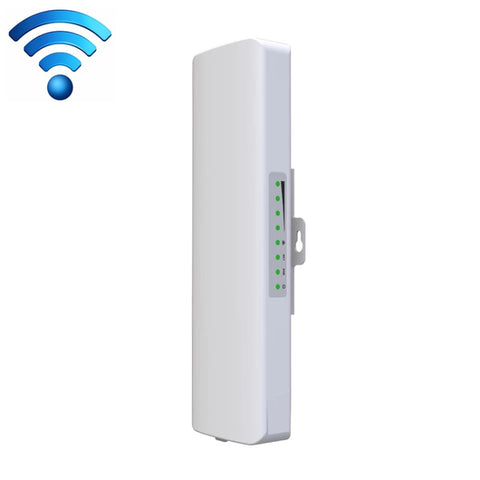
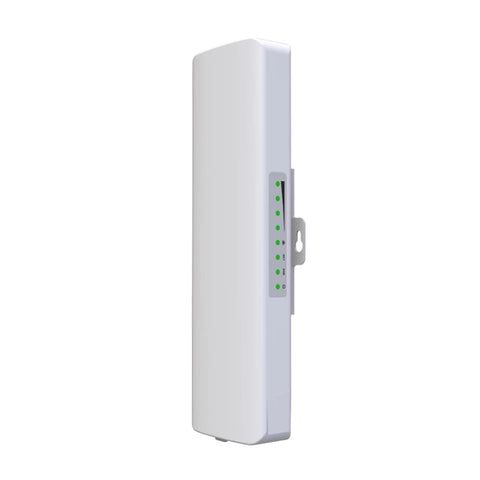
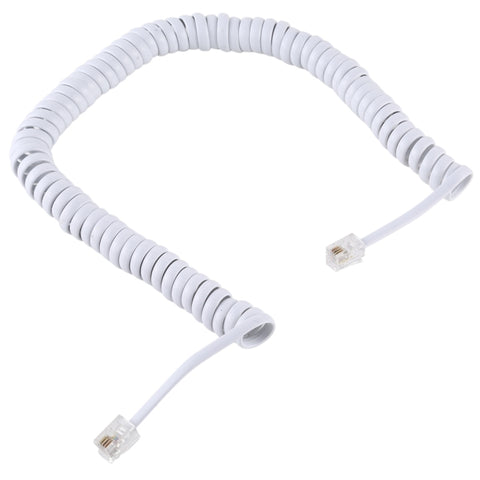
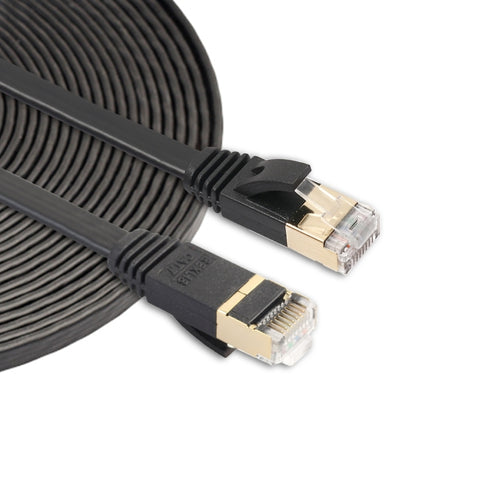
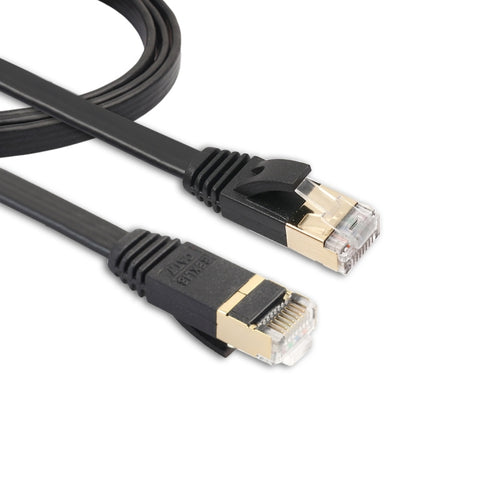
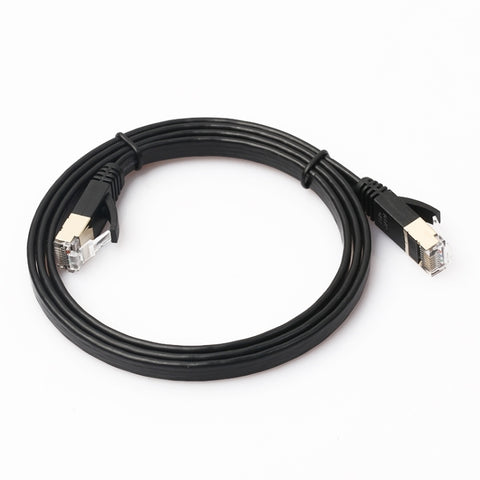
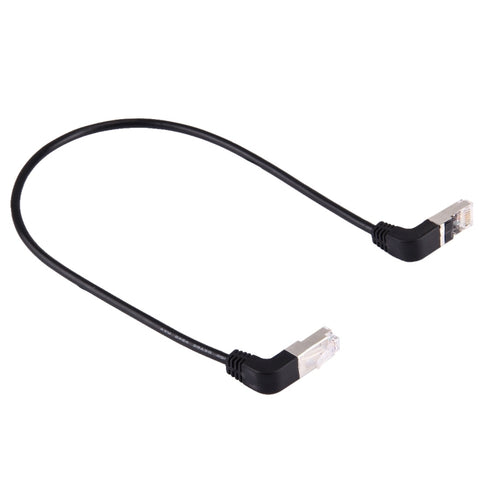
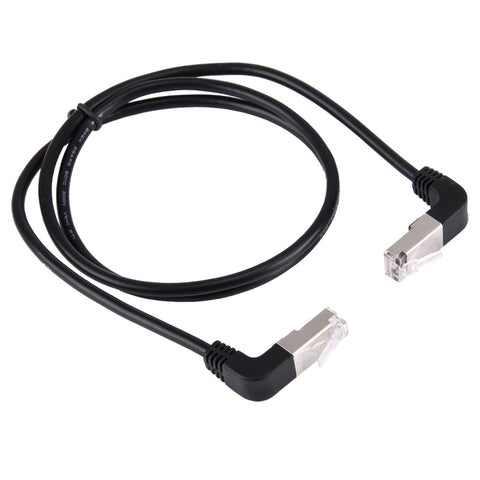
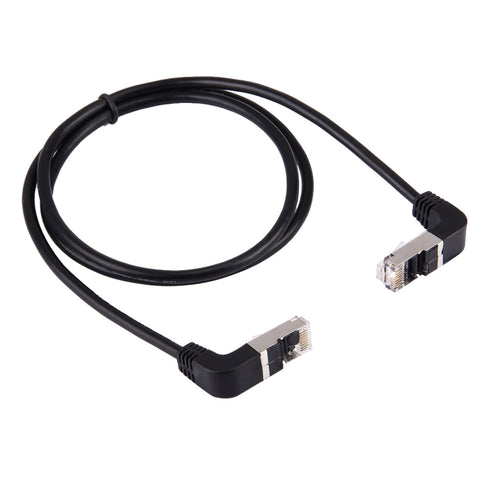
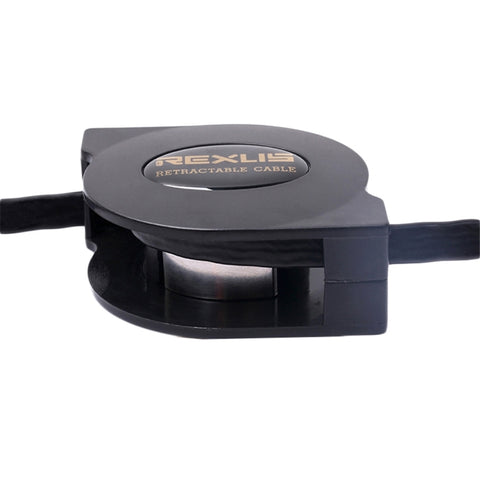
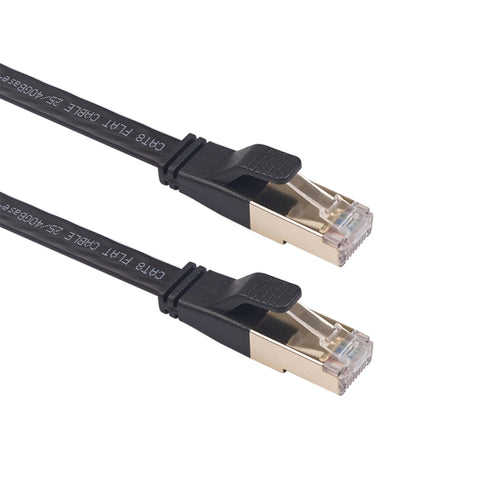
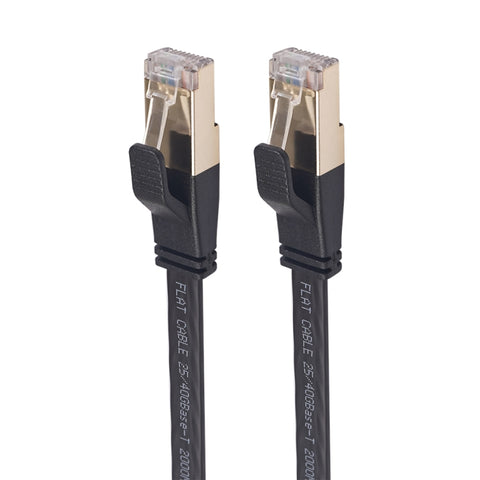
Accessori di rete


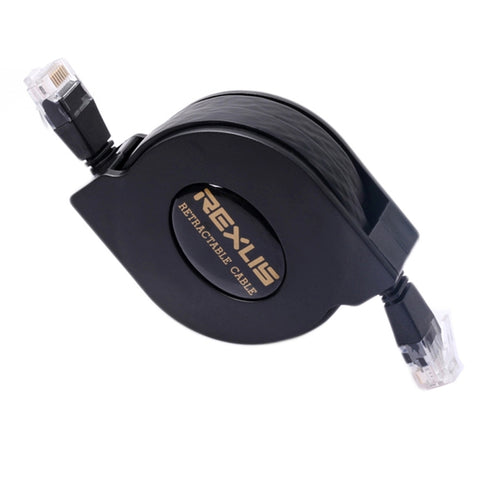
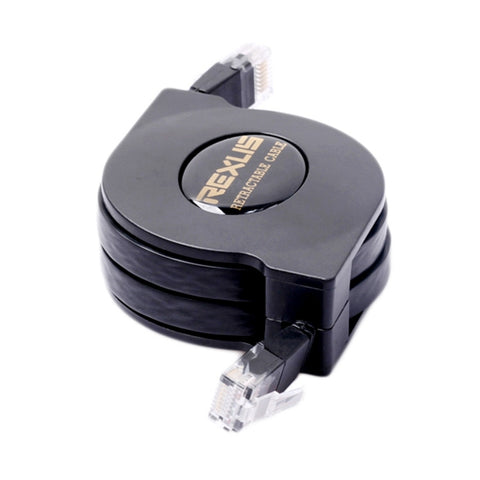


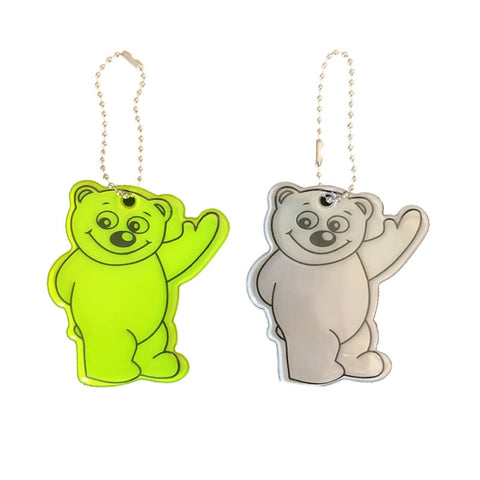
Ultime novità

Novalix.eu – Offerte Imperdibili, Prezzi Bassi e Spedizione Gratuita su Elettronica, Casa e Giocattoli
🛍️ Novalix.eu: Il tuo e-commerce di fiducia con prezzi bassi e spedizione g...
Leggi ora
10 Idee Regalo per la Festa della Donna 🎁🌸
La Festa della Donna è l'occasione perfetta per celebrare le donne speciali d...
Leggi ora
Festa della donna, 8 marzo: storia e significato
Giornata Internazionale della Donna - 8 Marzo La Giornata Internazionale dell...
Leggi ora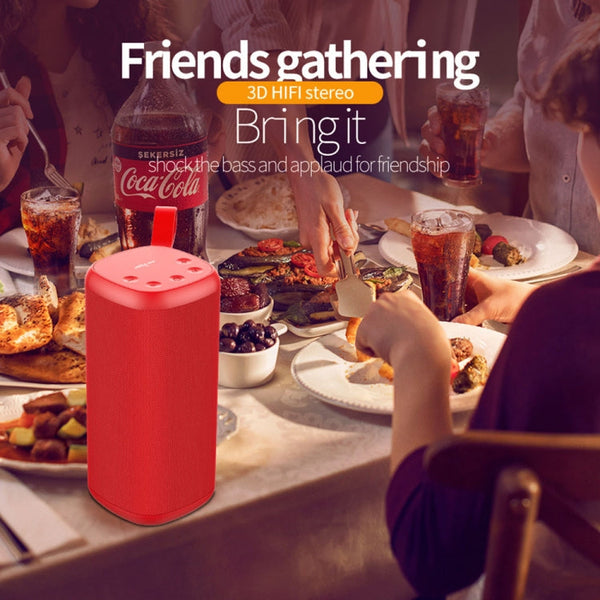
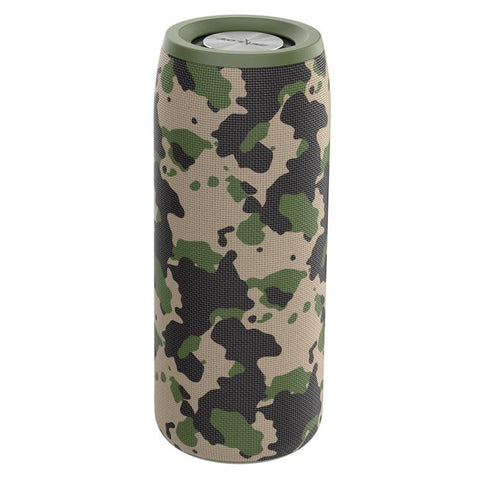
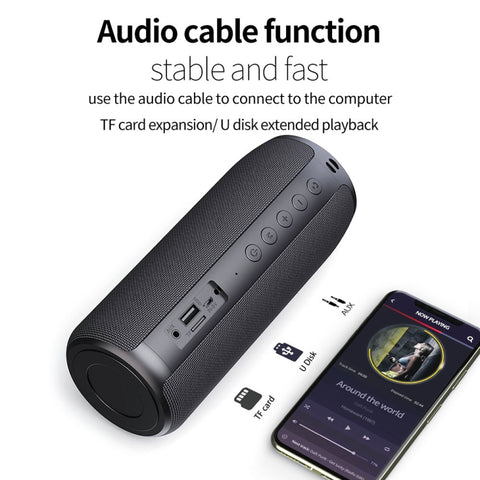
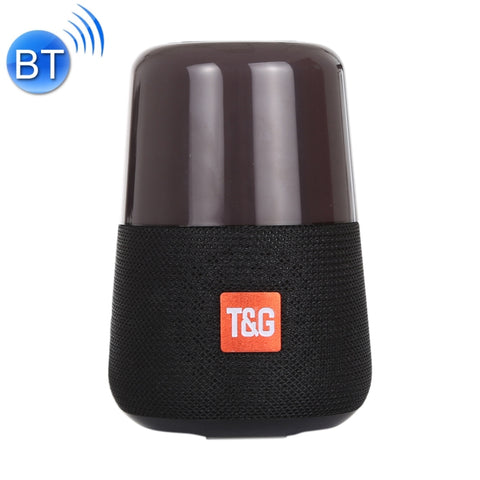
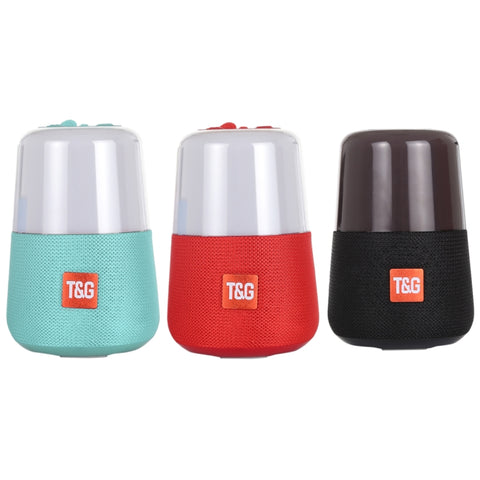
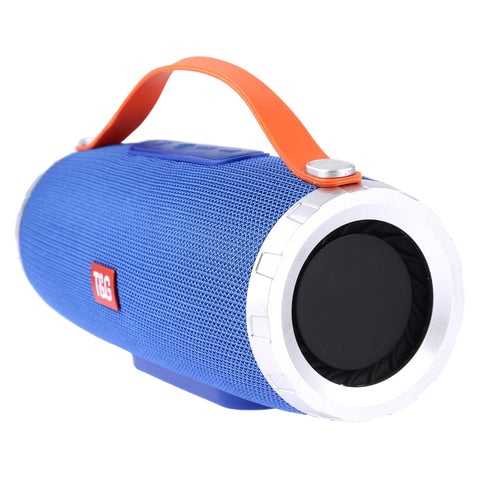
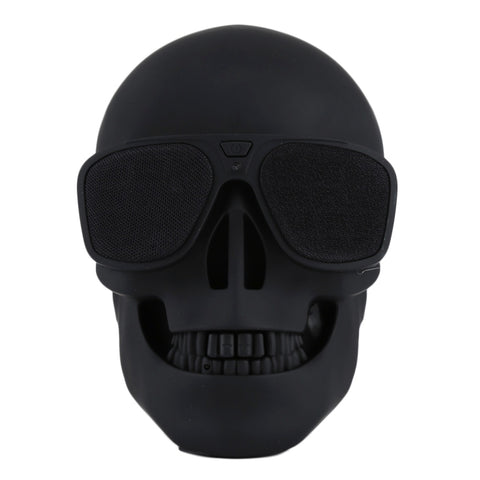
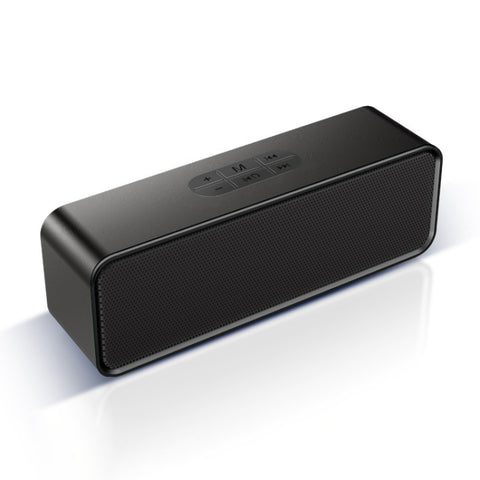
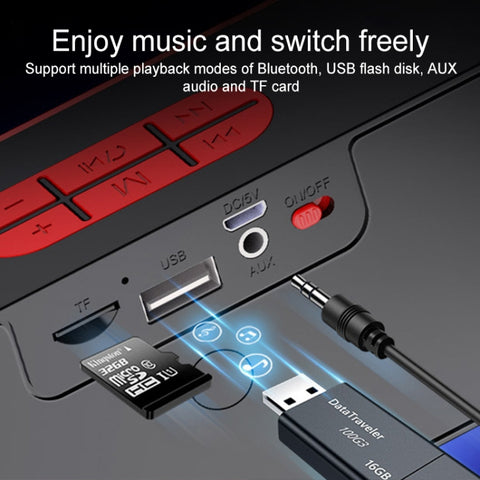
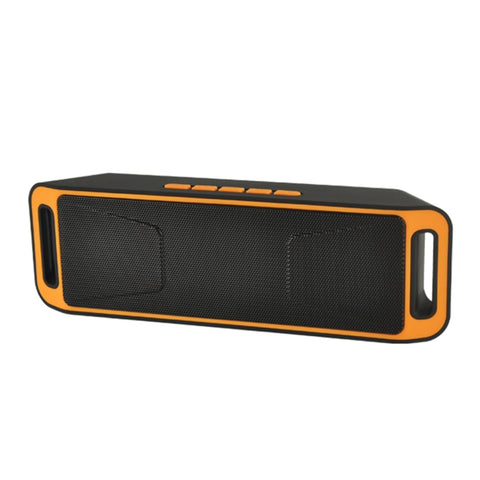
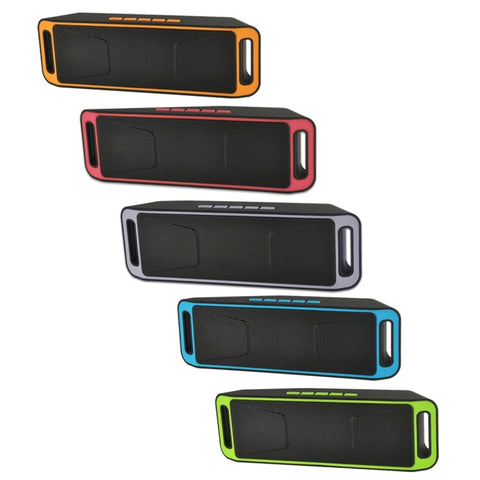
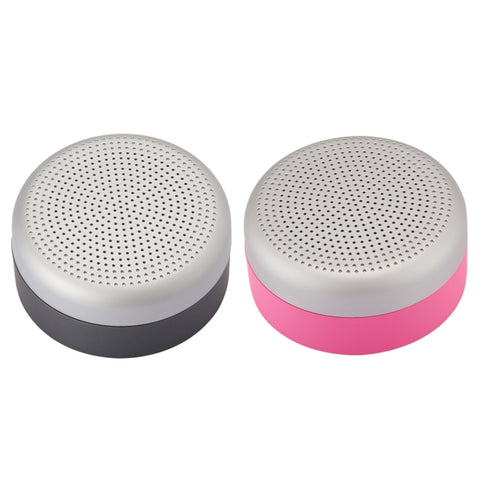
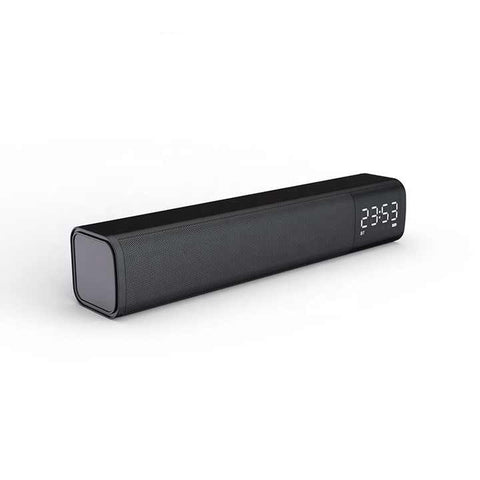
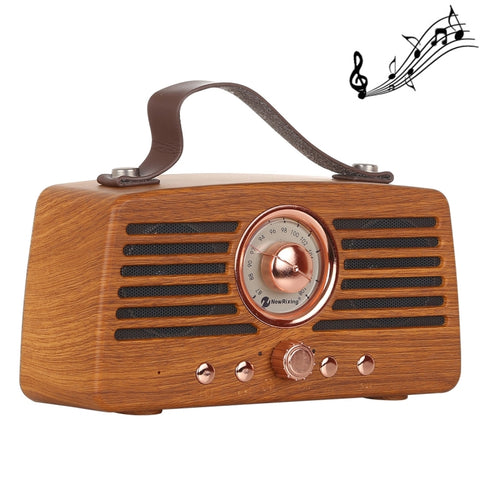
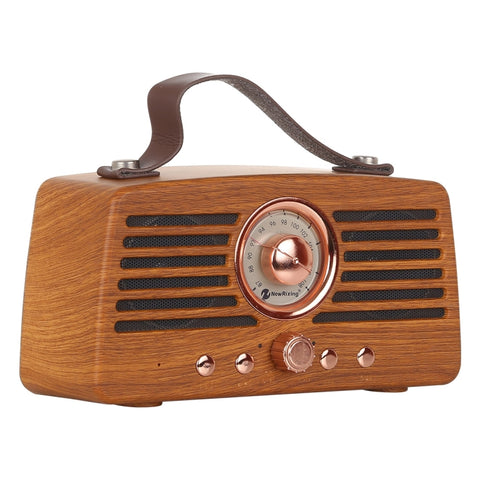
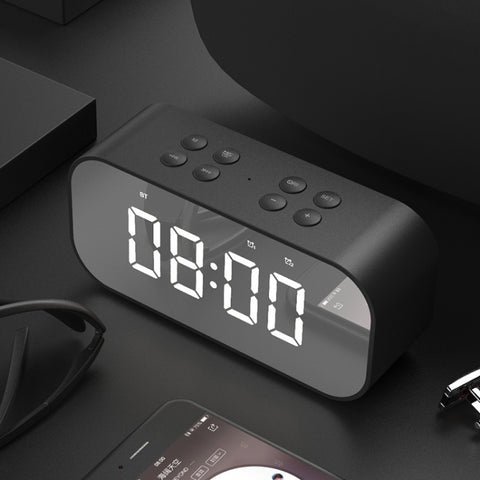
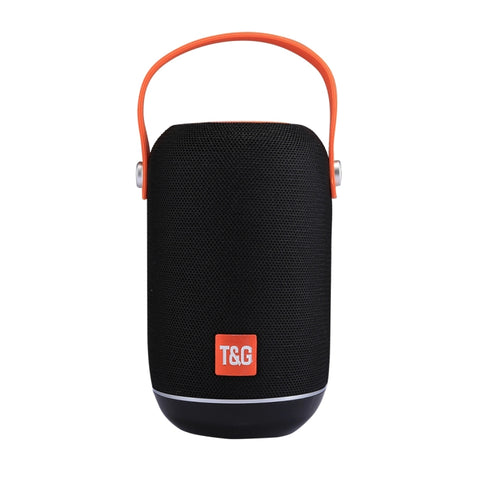
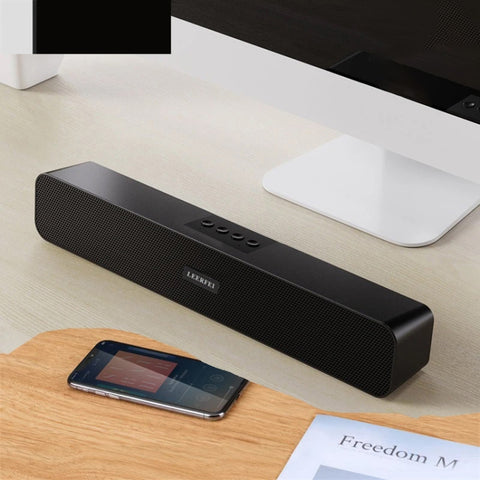
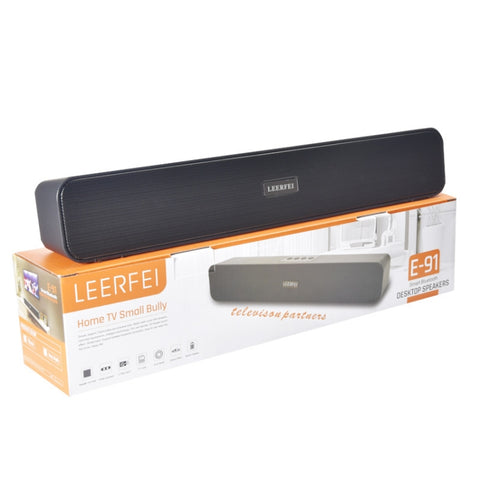
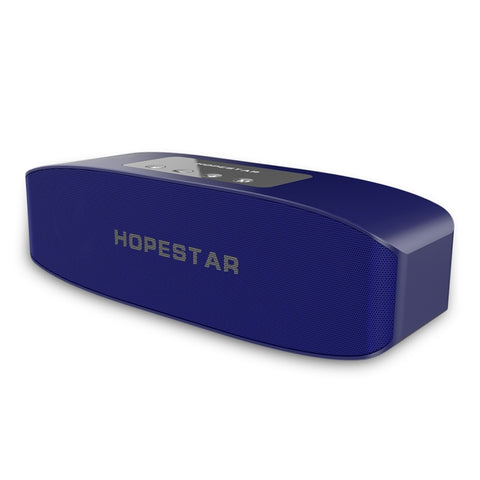
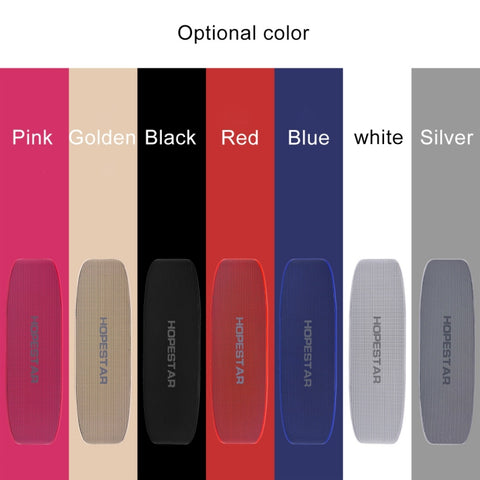
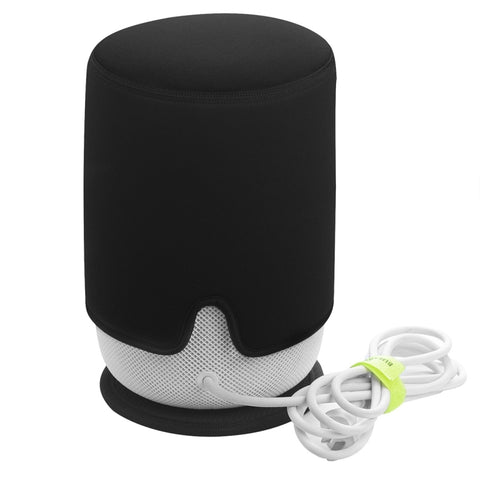
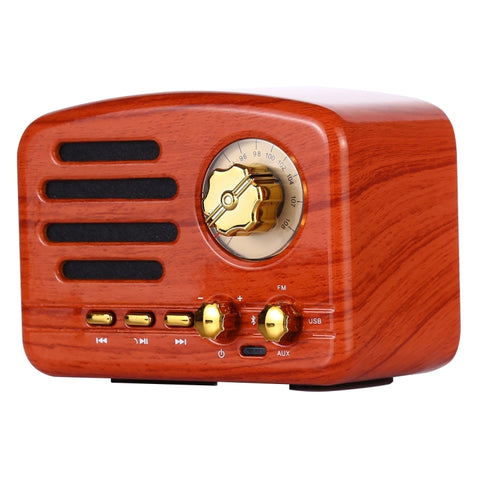
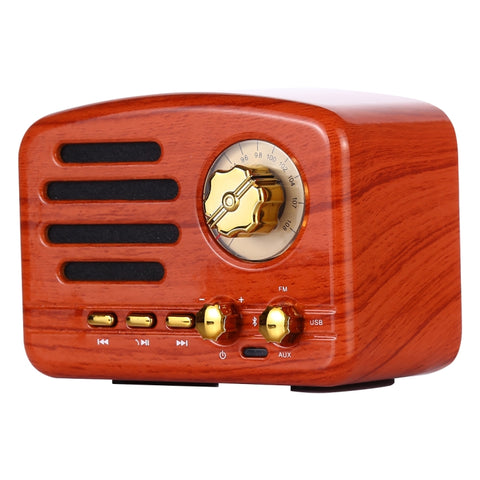
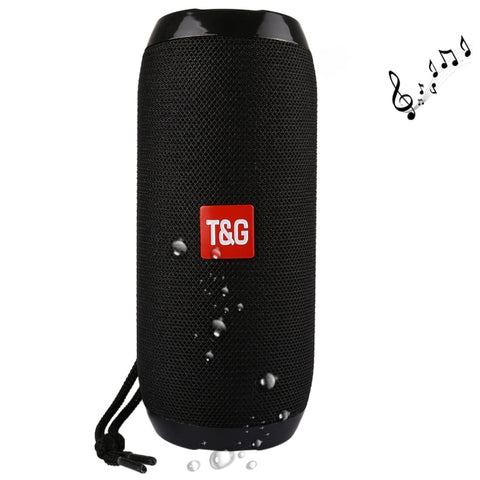
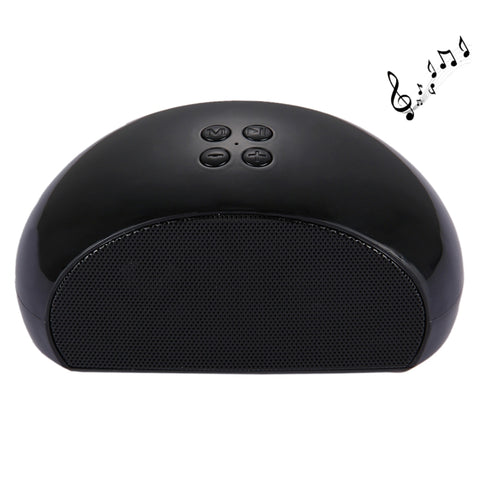
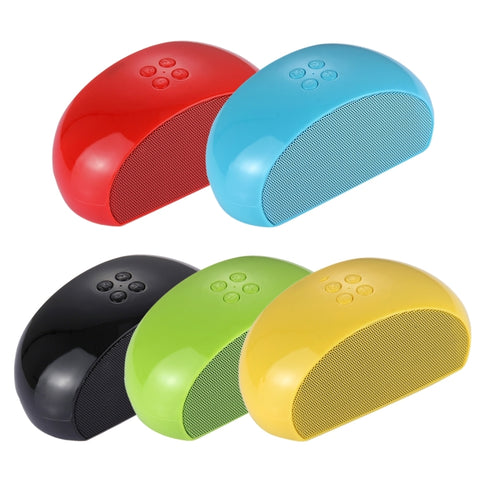
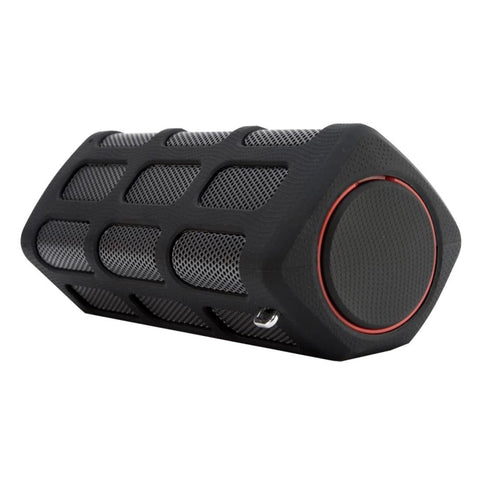
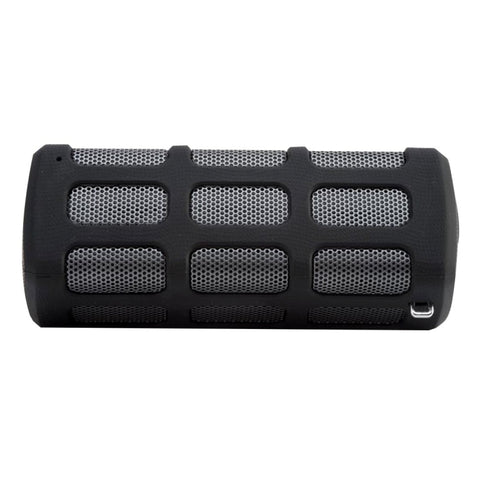
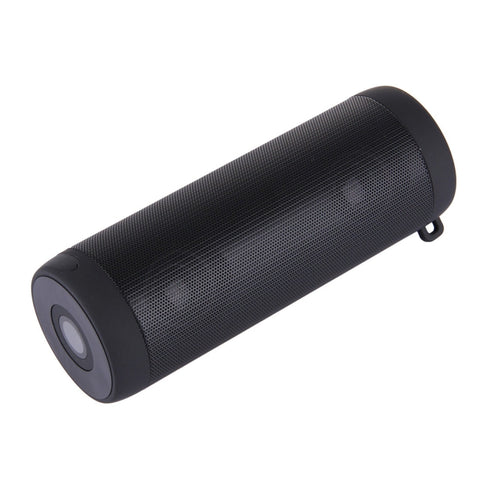
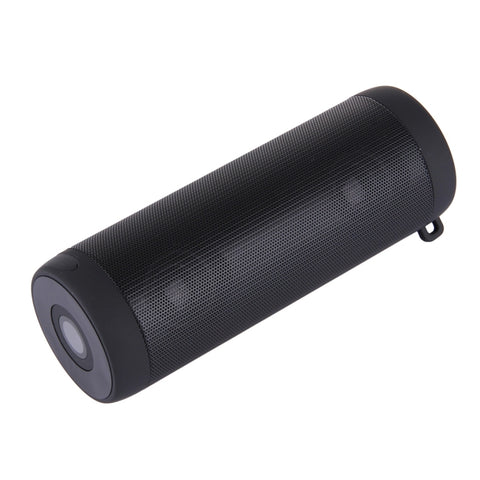
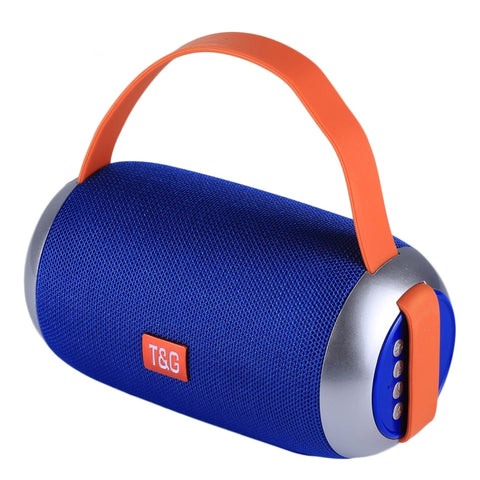
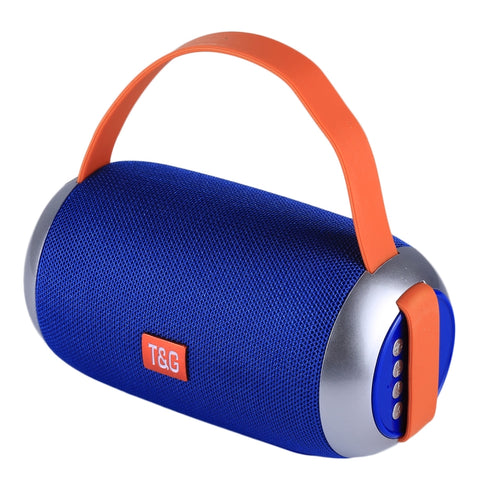
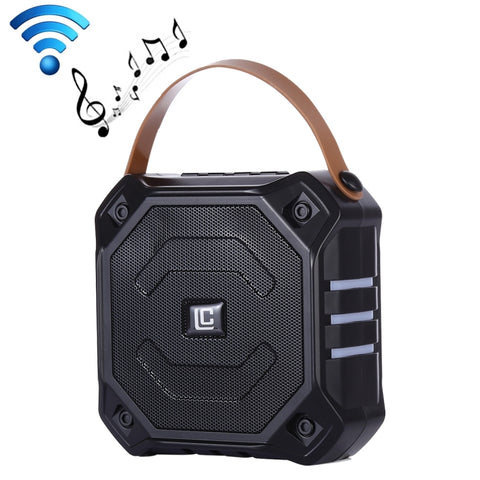
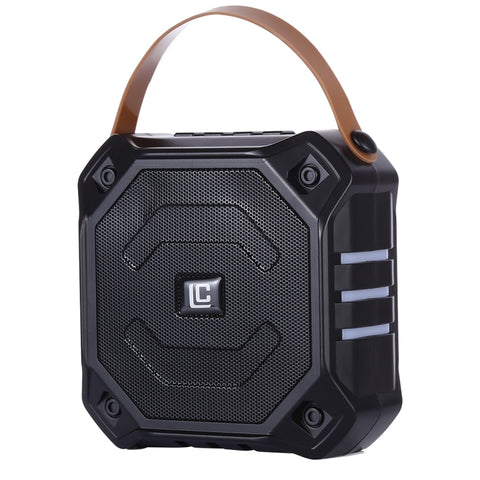
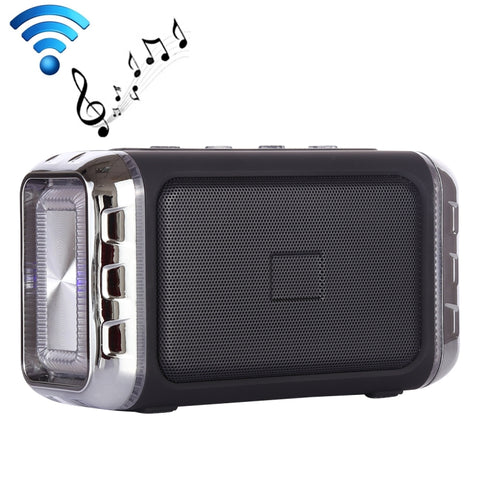
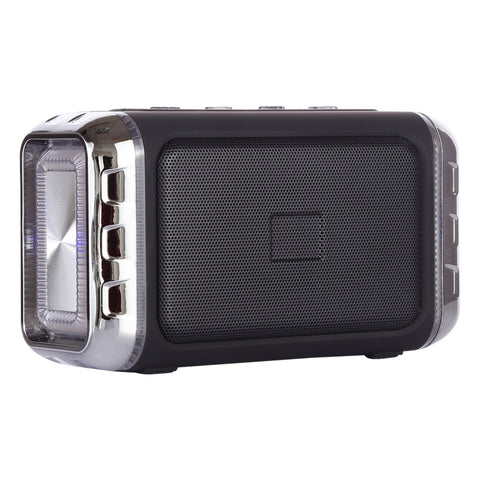
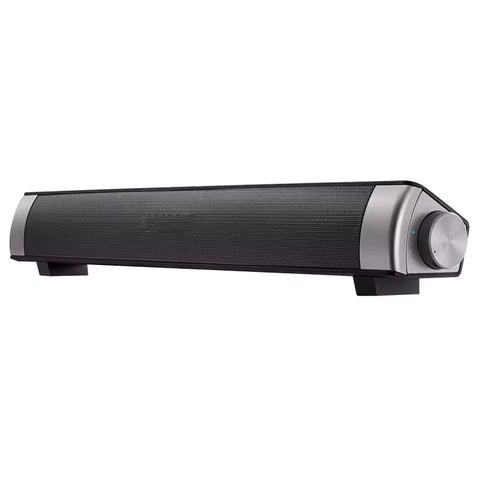
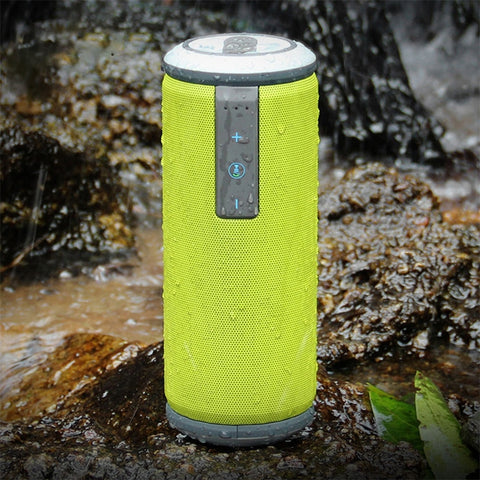
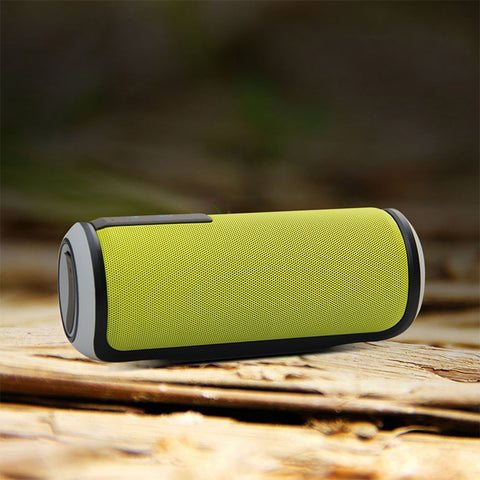
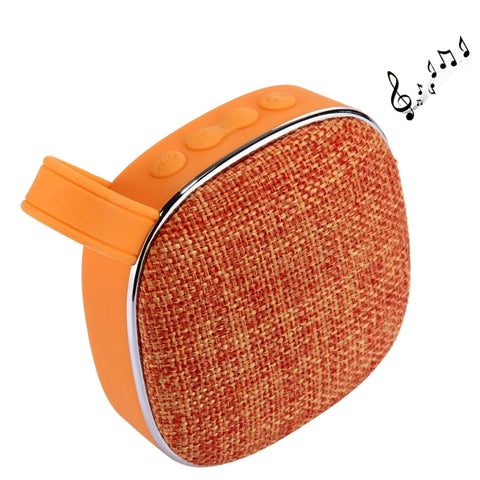
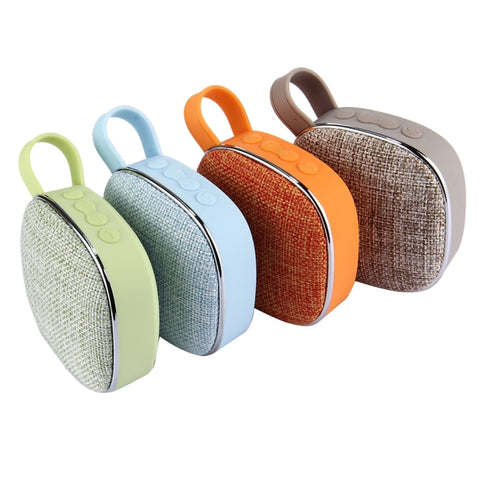
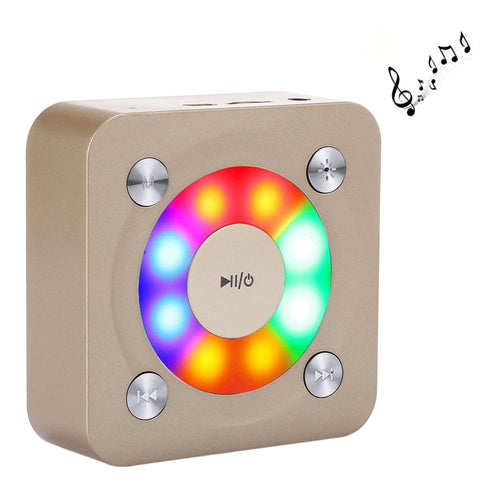
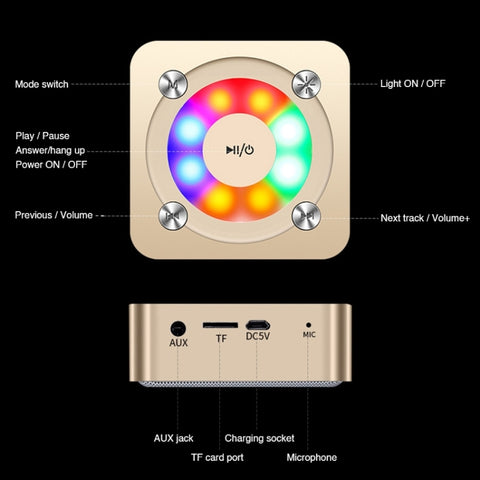
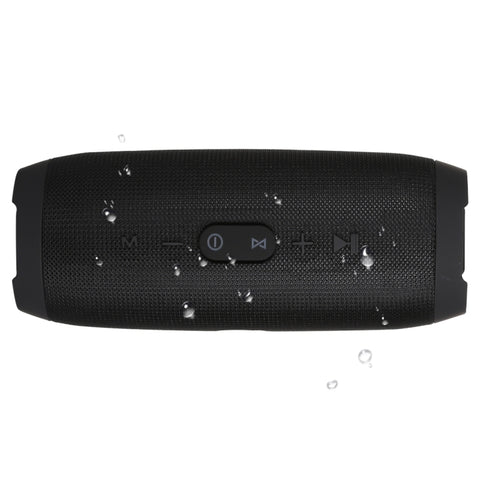
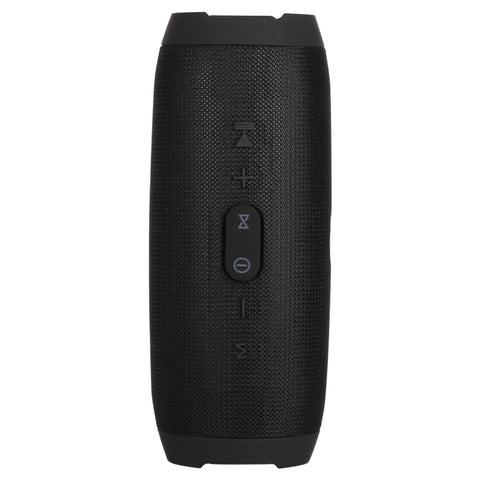
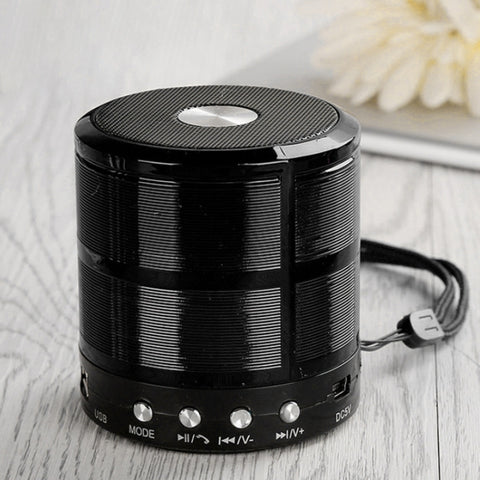
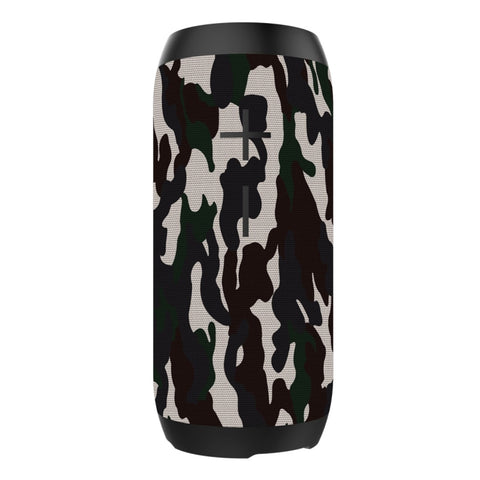
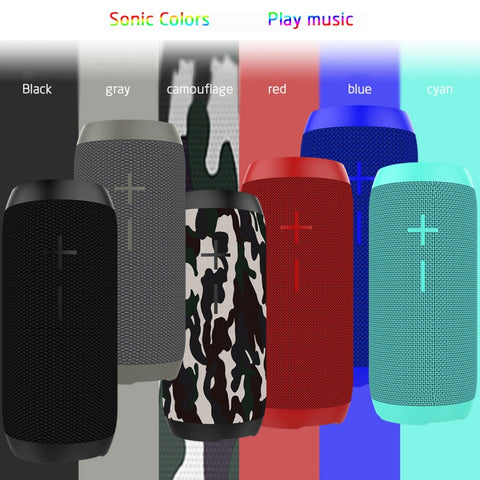
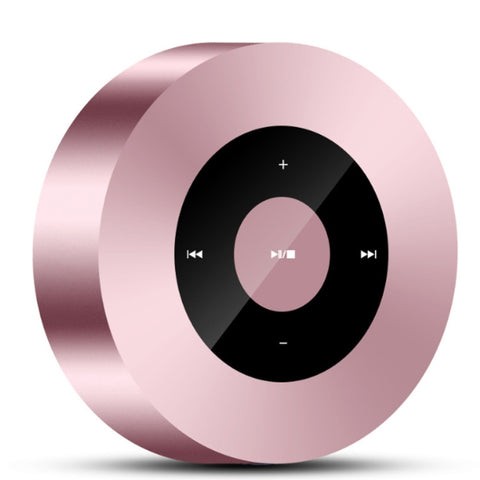
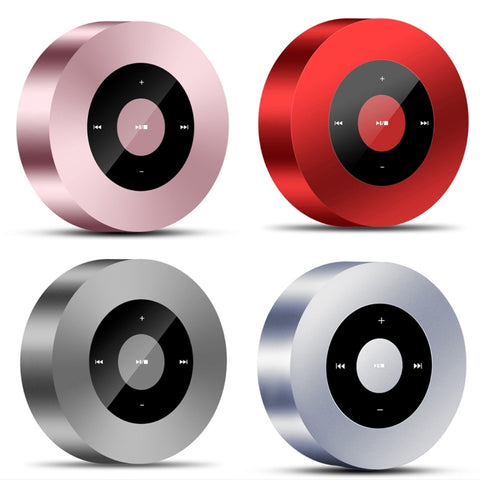
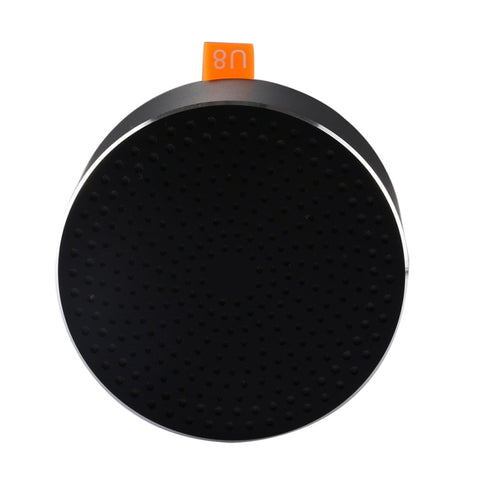
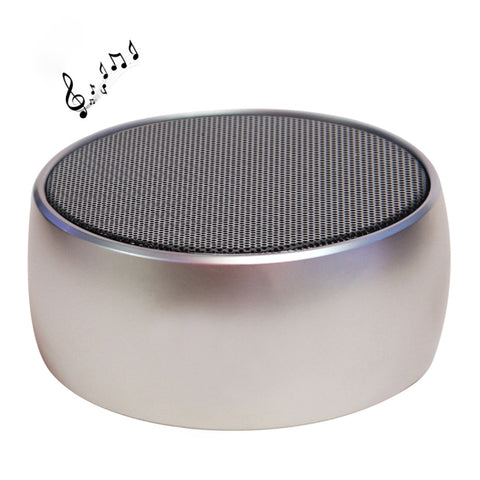
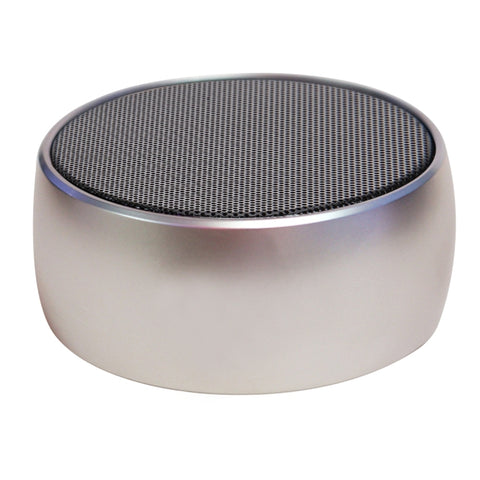
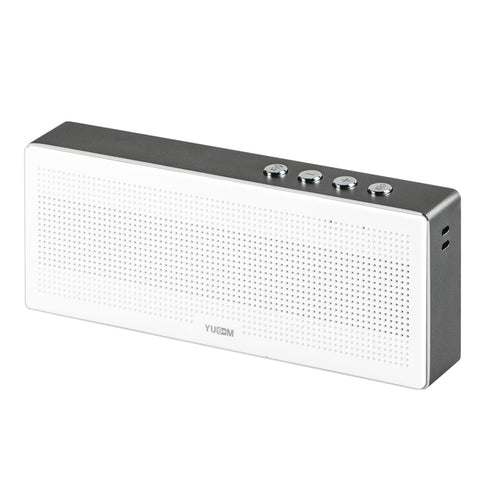
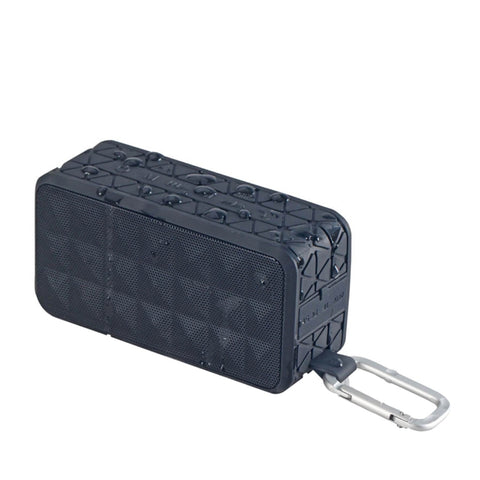
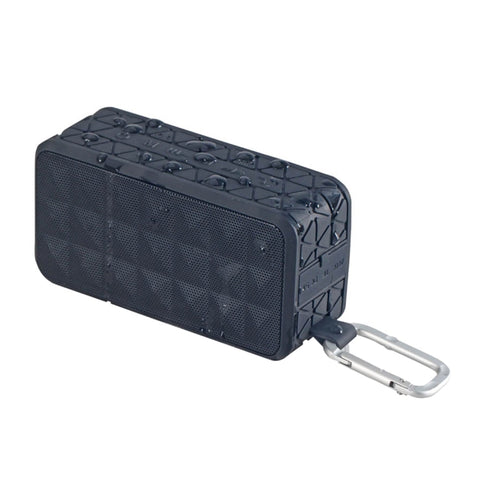
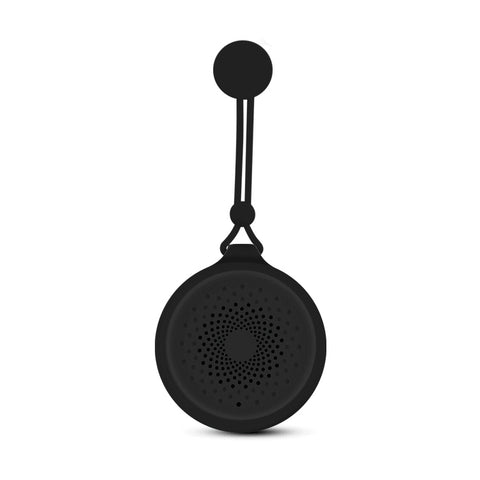
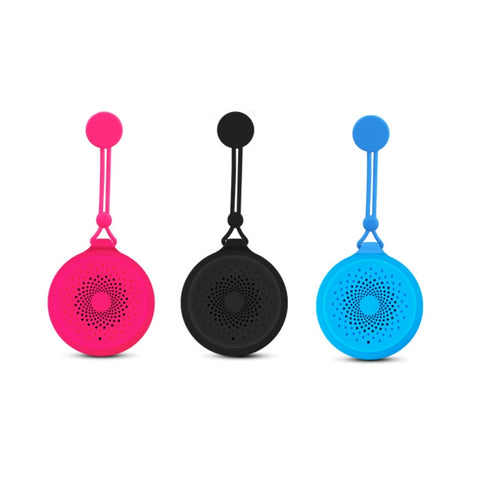
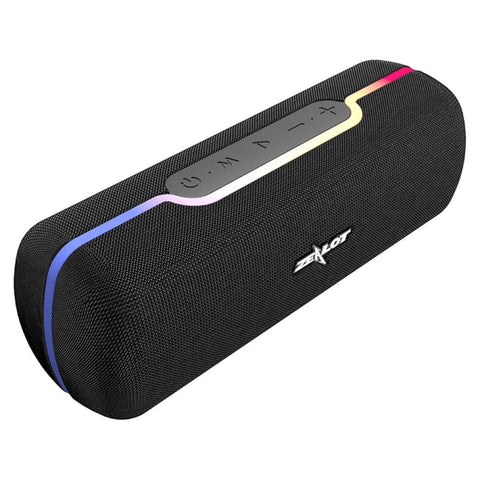
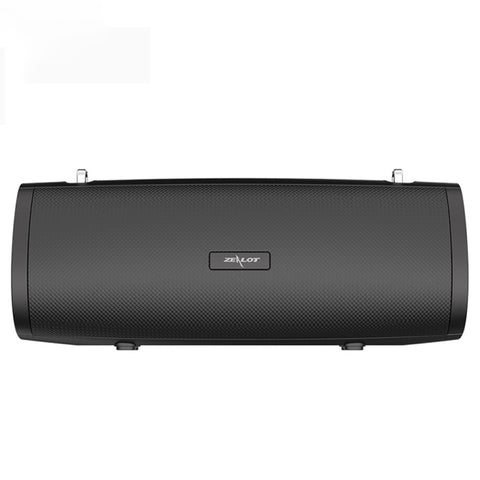
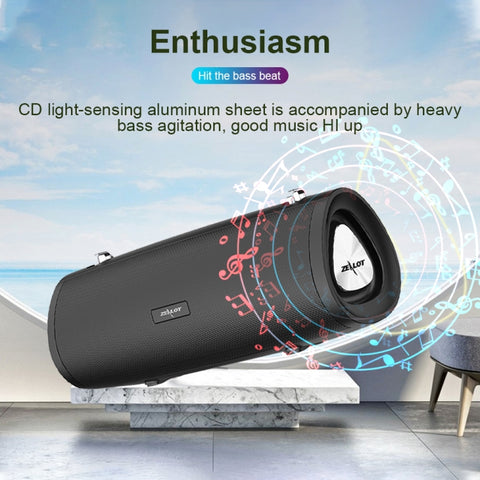
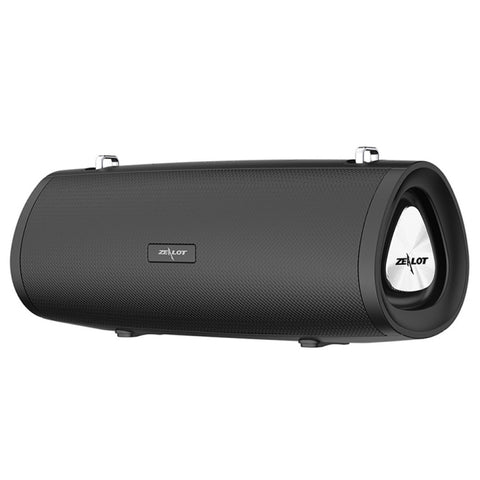
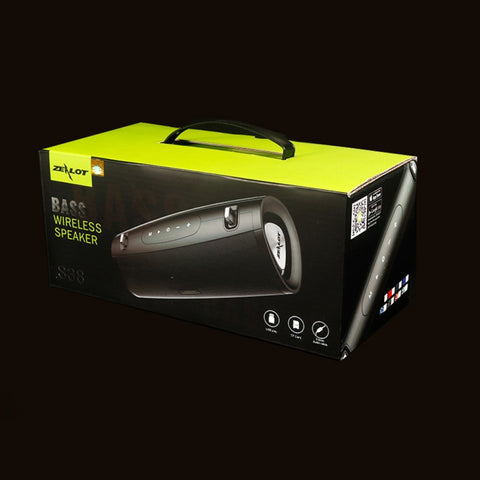
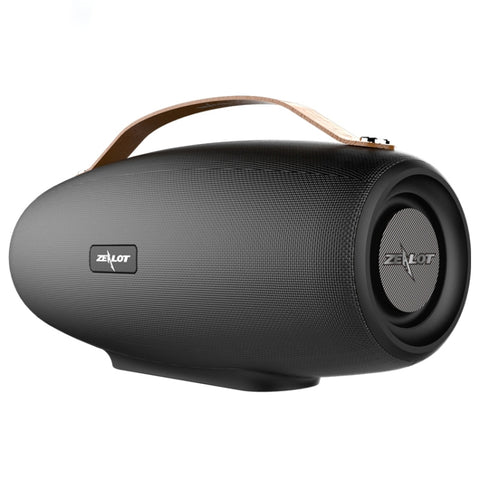
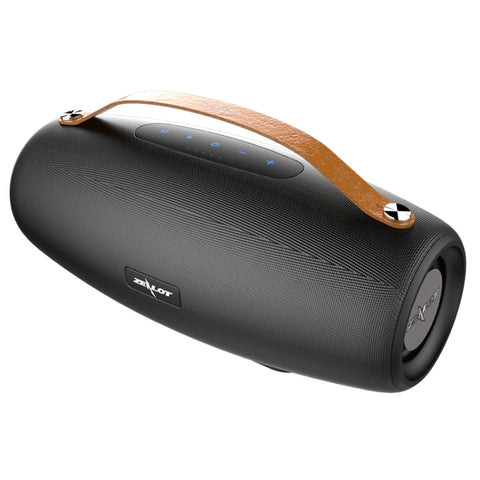
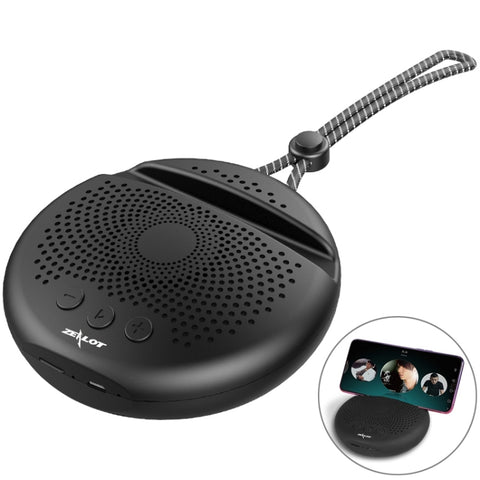
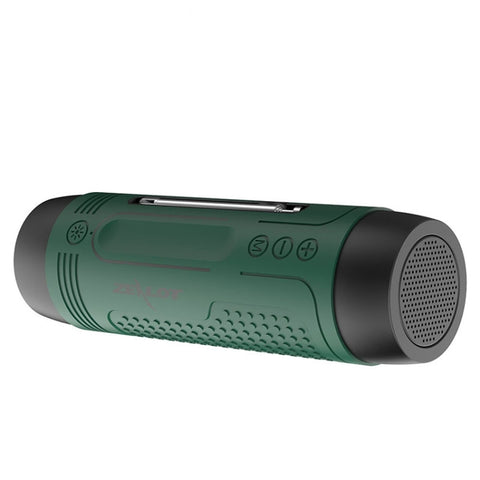
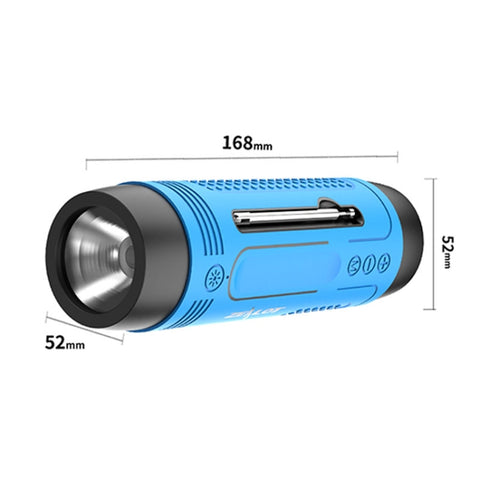
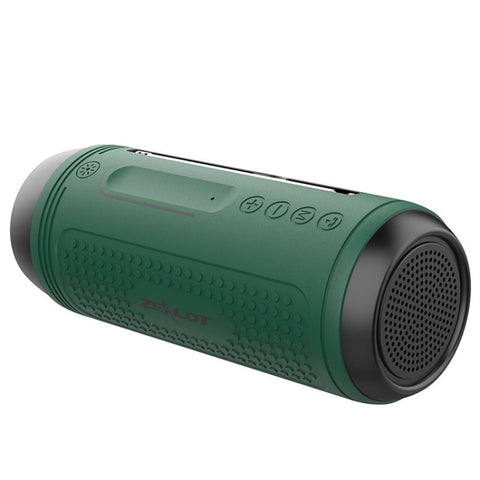
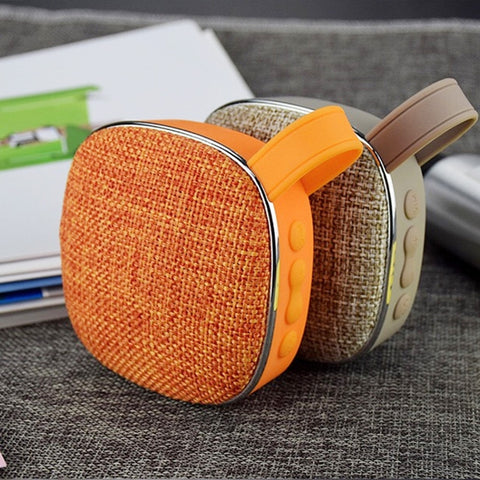
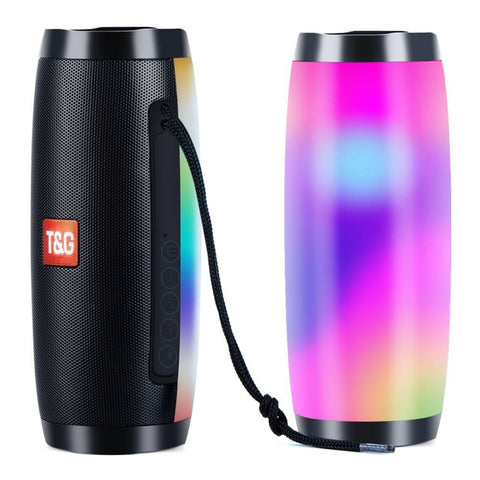
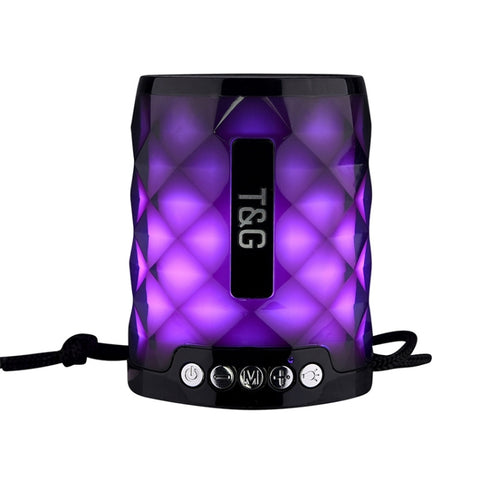
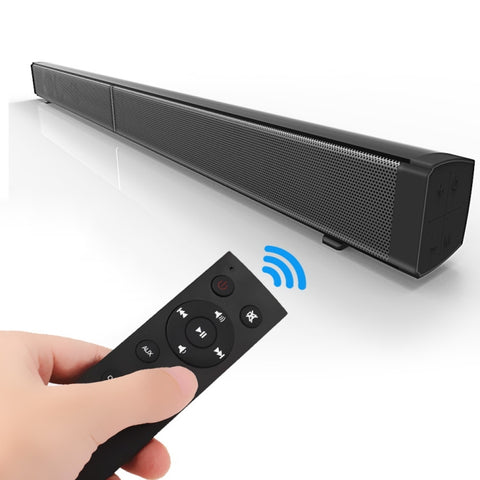
Le Migliori Casse Bluetooth per Ogni Occasione
Le casse Bluetooth sono diventate un accessorio essenziale per chi ama la mus...
Leggi ora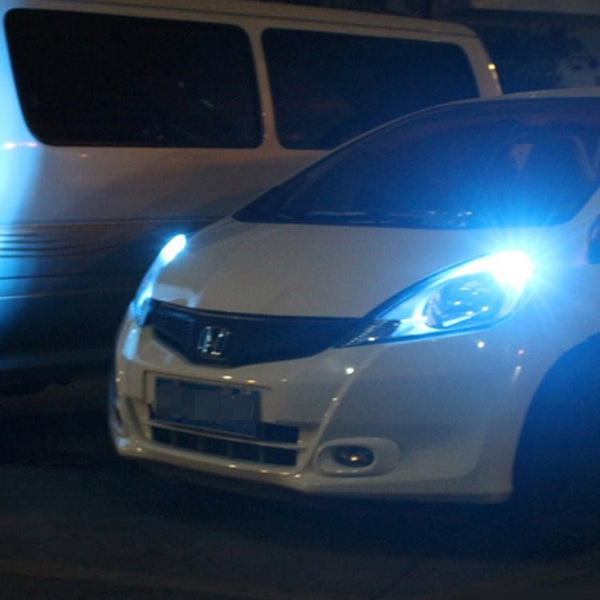
AutoStyle: Accessori e Upgrade per la Tua Auto
Benvenuto su AutoStyle, il blog dedicato a tutti gli appassionati di automobi...
Leggi ora


Raddrizzatore Moto per Kart e Go-Kart 2006.24 - Modello 150
Parti di ricambio
20 In magazzino
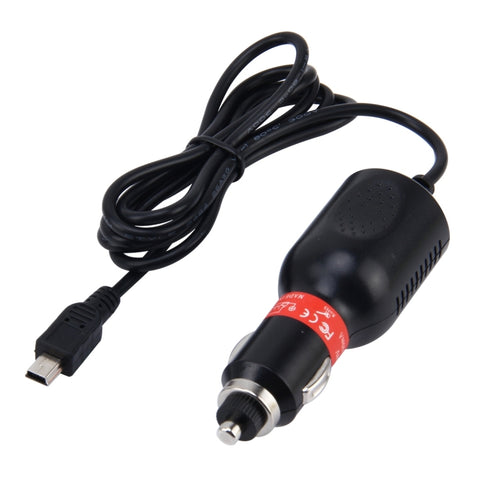
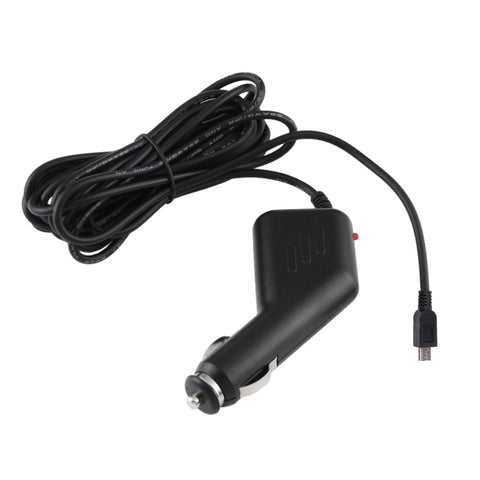
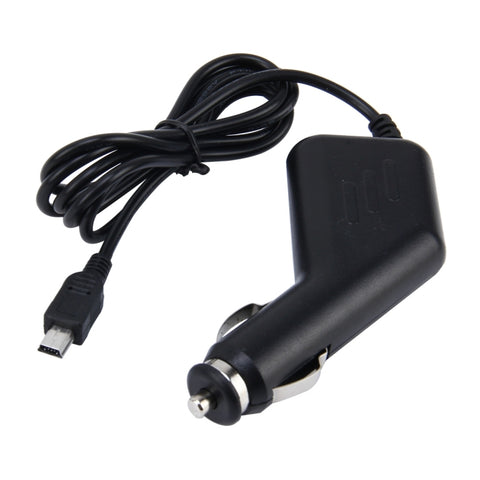
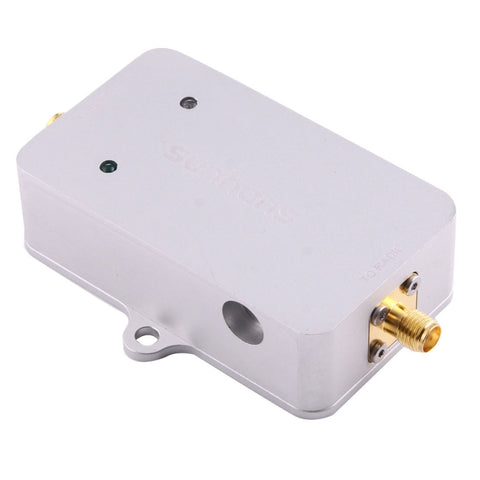
Descrizione introduttiva Il raddrizzatore moto per kart e go-kart 2006.24 - Modello 150 è un componente essenziale per il corretto funzionamento del sistema elettrico dei tuoi veicoli a motore. Progettato per garantire prestazioni affidabili, questo raddrizzatore offre un'uscita stabile e una gestione efficace del calore, rendendolo ideale per l'uso in condizioni di gara. Caratteristiche principali
- Peso: 130G
- Lunghezza del cavo: 25CM
- Tensione di uscita: 14.5V
- Batteria applicabile: 12V
- Corrente di uscita: 15A
- Materiale di dissipazione del calore: guscio in alluminio
- Peso della confezione: 0.16kgs / 0.35lb
- Dimensioni della confezione: 15cm * 12cm * 8cm / 5.91inch * 4.72inch * 3.15inch
- Quantità per cartone: 194
- Peso del cartone: 30.00kgs / 66.14lb
- Dimensioni del cartone: 50cm * 50cm * 60cm / 19.69inch * 19.69inch * 23.62inch
-
Carico container:
- 20GP: 177 cartoni * 194 pezzi = 34338 pezzi
- 40HQ: 412 cartoni * 194 pezzi = 79928 pezzi